The project consisted of replacing the chimney cap, improving the protection, functionality and aesthetics of the chimney to guarantee optimal performance and prolong its useful life.
Replacement Process
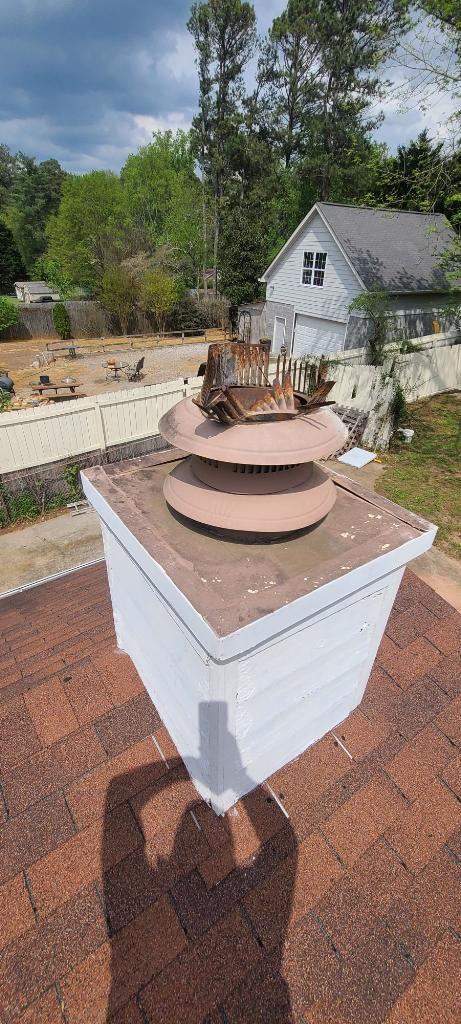
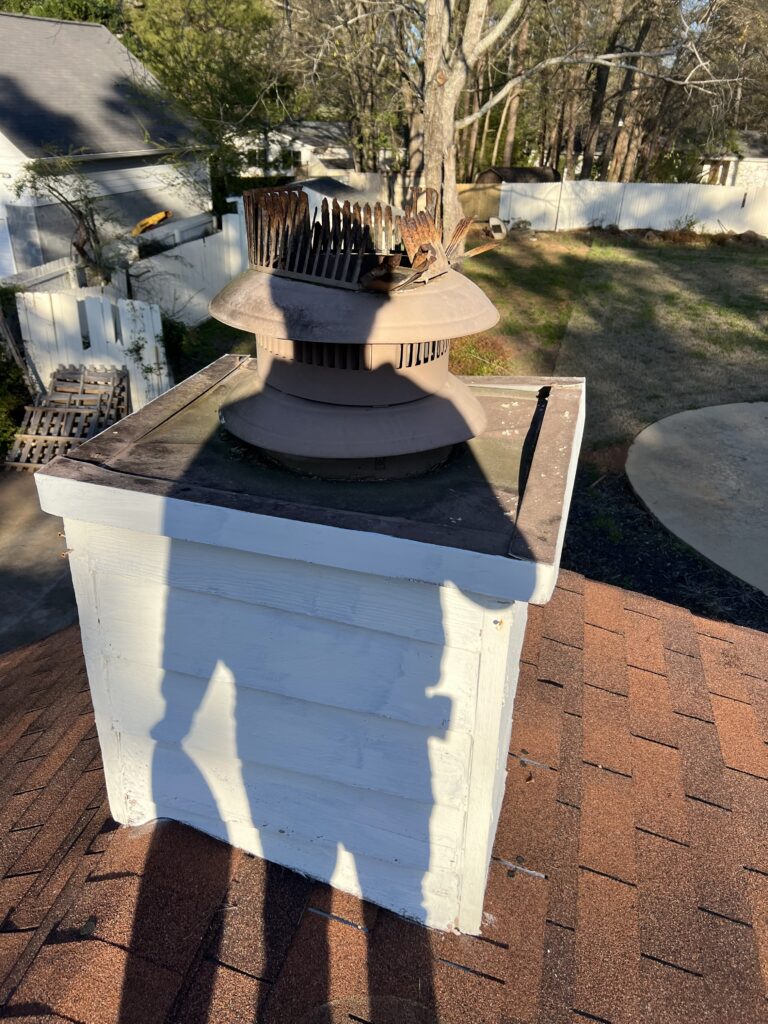
Initial Inspection
A detailed inspection of the chimney was performed to assess the condition of the existing cap and ensure there was no additional damage to the flue or structure.
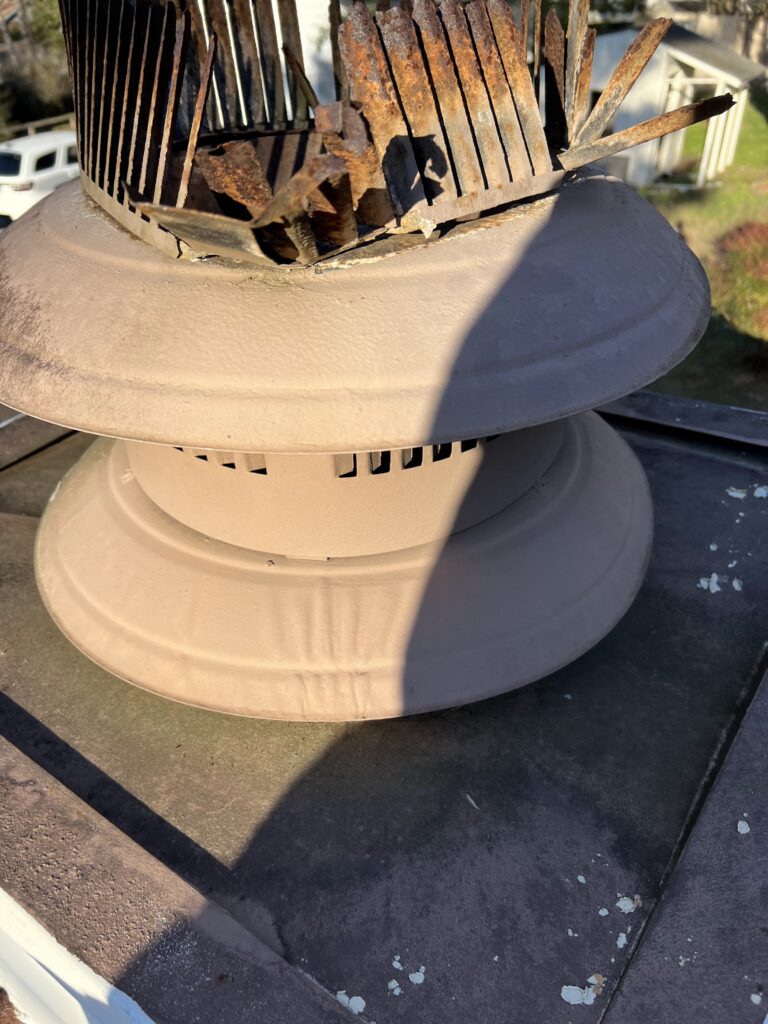
Removing the Old Cover
The old cap, which showed wear, rust or damage, was carefully removed to prevent damage to the chimney surround or internal flue.
Preparation for the New Cover
The chimney surround was cleaned and leveled to ensure a safe installation.
The seals on the chimney crown were checked and, if necessary, repaired to prevent leaks.
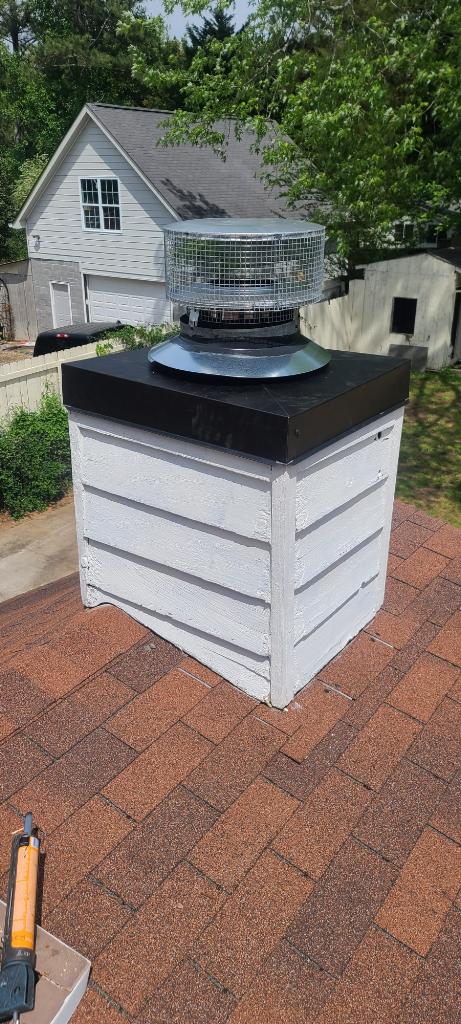
Installing the New Chimney Cap
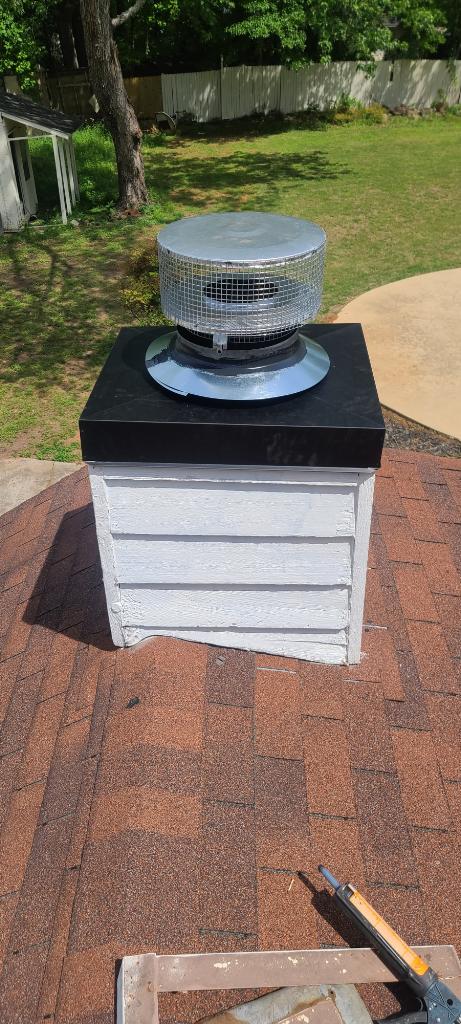
A new lid made of weather- and rust-resistant stainless steel or copper was installed, designed to provide adequate ventilation and protect against the ingress of water, debris and wildlife.
The lid is securely secured with specialized brackets or screws to ensure its stability against high winds and adverse weather conditions.
Final Inspection
Verified that the cover was correctly installed and aligned. Additionally, a test was performed to ensure that the chimney vent was not obstructed.
Bottom line
Replacing the chimney cap significantly improved its functionality and appearance. The new cap provides efficient protection against external elements, ensuring the durability of the chimney and the safety of the home.